

หลังจากที่สำรองข้อมูลอีเมล Gmail/G Suite เรียบร้อยแล้ว ดูวิธีการสำรองข้อมูลอีเมล Gmail/G Suite คลิกที่นี่ เมื่อดาวโหลดไฟล์จากลิงค์ที่ได้รับแล้วจะได้ไฟล์อีเมล .mbox ซึ่งสามารถเปิดดูอีเมลได้ด้วย Mozilla Thunderbird
ขั้นตอนการนำเข้าข้อมูลอีเมลจาก Gmail/G Suite
วิธีติดตั้ง Thunderbird
- ดาวโหลด Mozilla Thunderbird (คลิกที่นี่)
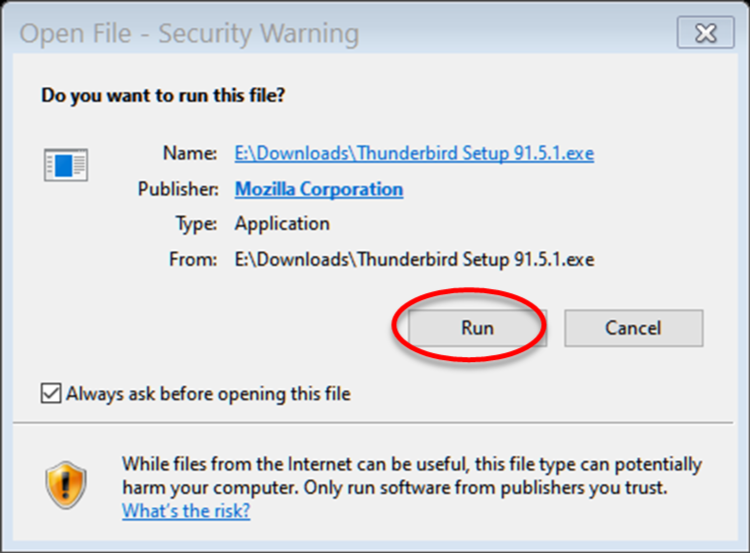
- ดับเบิ้ลคลิกไฟล์ Mozilla Thunderbird ที่ดาวโหลดมา แล้วคลิก Run
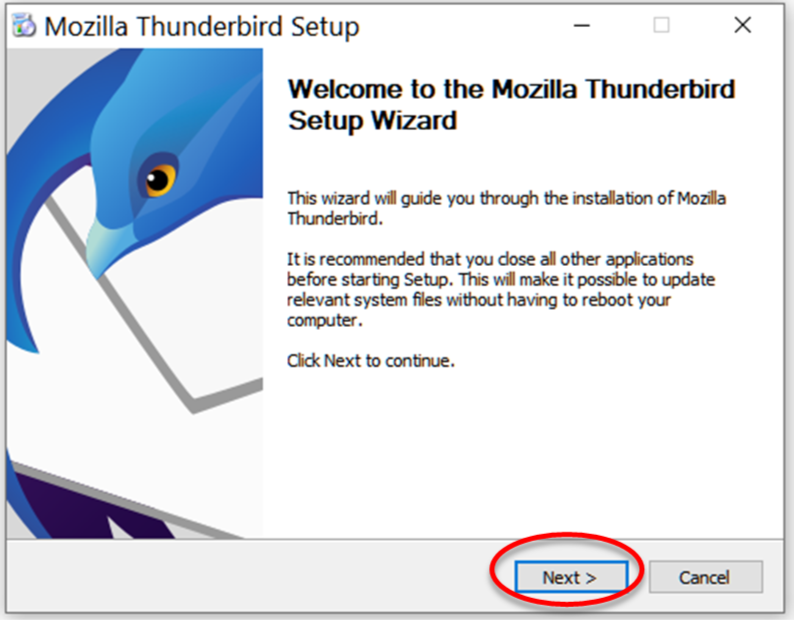
- ที่หน้าต่าง Setup คลิก Next
- Setup type เป็น Standard แล้ว คลิก Next
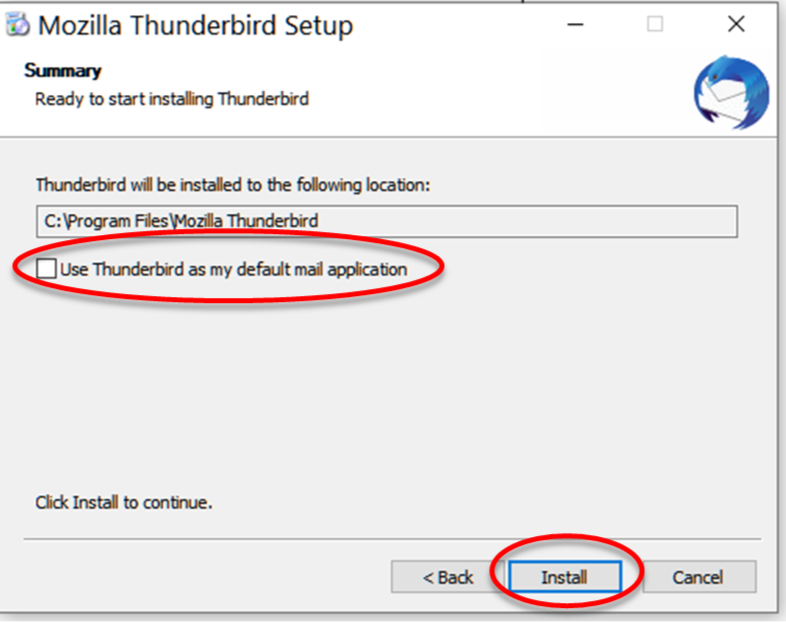
- ถ้าไม่ได้ใช้ Mozilla Thunderbird เป็นโปรแกรมหลักในการรับส่งอีเมล ให้เอาเครื่องหมายถูกที่ Use Thunderbird as my default application แล้วคลิก install
- รอติดตั้งซักครู่ เสร็จคลิก Finish
นำเข้าข้อมูลอีเมลไฟล์ .mbox
- เมื่อติดตั้งเสร็จ Mozilla Thunderbird จะเปิดอัตโนมัติ เพื่อให้ตั้งค่าอีเมลแอคเค้าท์ ให้คลิก Cancel
- คลิกที่ Home และคลิกที่ Feeds
- ที่ Feed Account Wizard คลิก Next >> Finish
- คลิก Account Setting เพื่อชี้ Mozilla Thunderbird ไปที่ไฟล์ mbox ที่ได้ดาวโหลดมาเก็บไว้
- คลิก Local Folder ที่ Local Directory คลิก Browse เพื่อชี้ไปยังโฟลเดอร์ที่เก็บไฟล์ .mbox ไว้
- เมื่อชี้ไปยังโฟลเดอร์ที่เก็บ mbox เรียบร้อยแล้ว คลิก Restart
- Mozilla Thunderbird จะปิดแล้วเปิดขึ้นใหม่อัตโนมัติ จากนั้น Mozilla Thunderbird จะใช้เวลาซักครู่เพื่อดึงอีเมลจากไฟล์ mbox หากมีอีเมลจำนวนมากจะใช้เวลานาน
- ดูอีเมลได้ที่ Tab แรก Local Folders>>อีเมลทั้งหมด.. (หรือชื่อของไฟล์ .mbox ที่ชี้ไป)
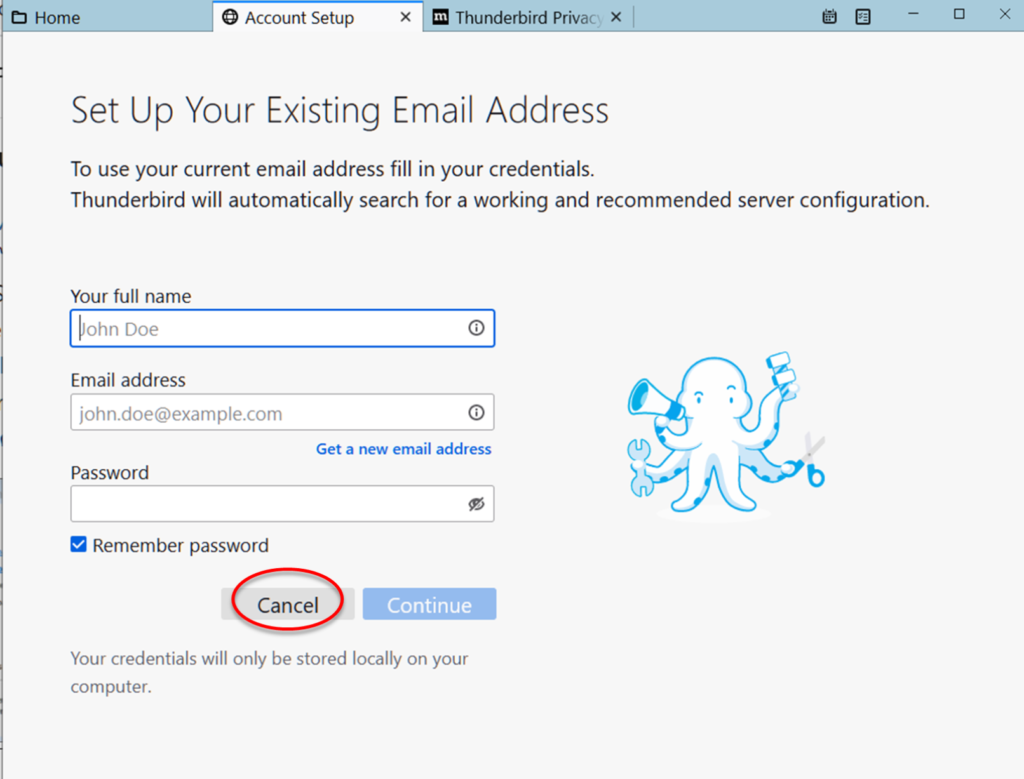
1. คลิก Cancel

2. คลิกที่ Home และคลิกที่ Feeds
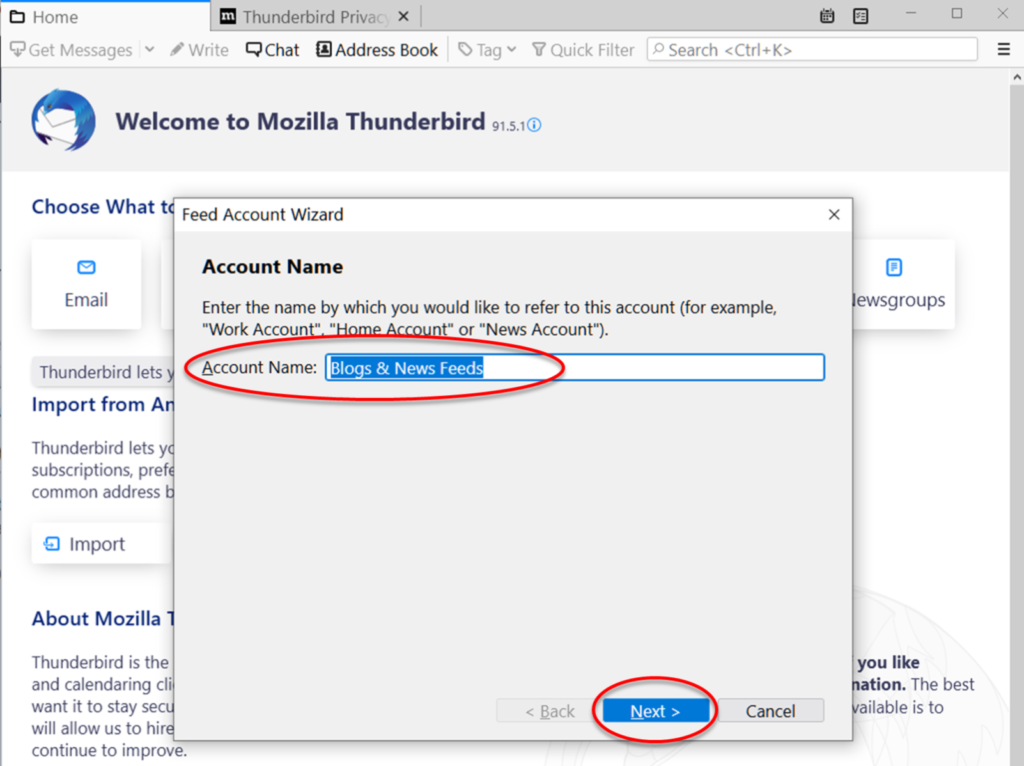
3. Feed Account Wizard คลิก Next >> Finish
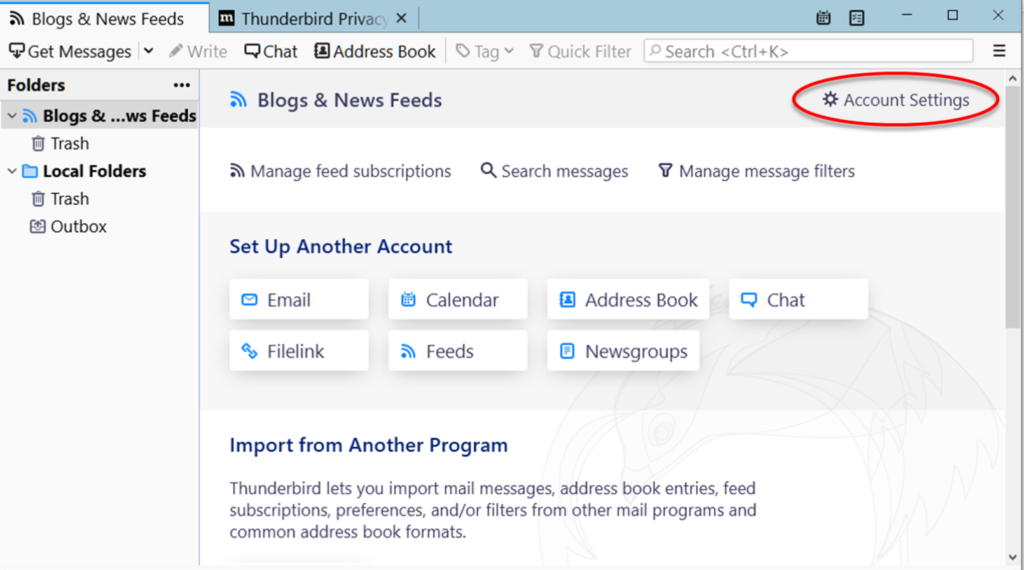
4. คลิก Account Setting
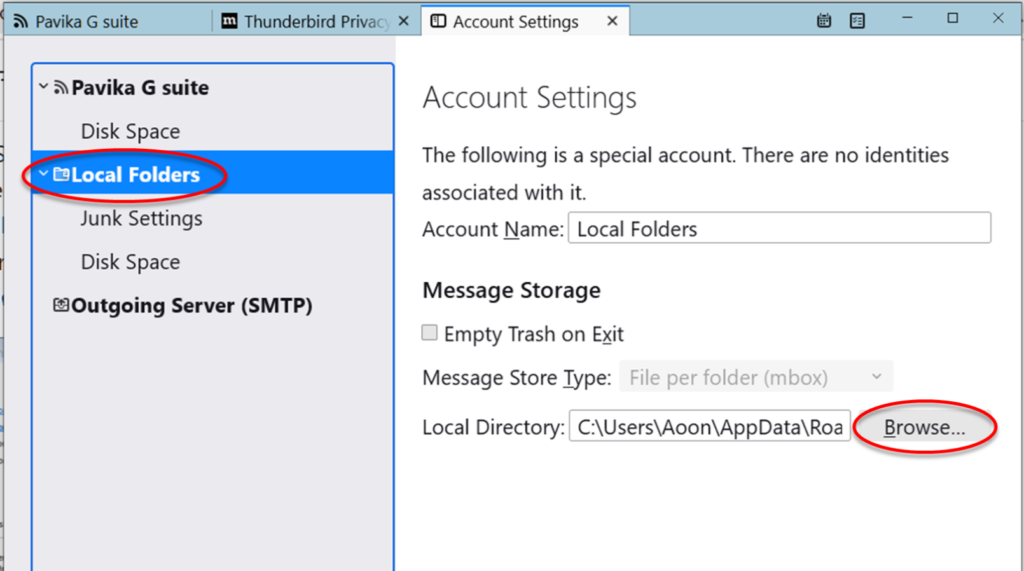
5. คลิก Local Folder ที่ Local Directory คลิก Browse
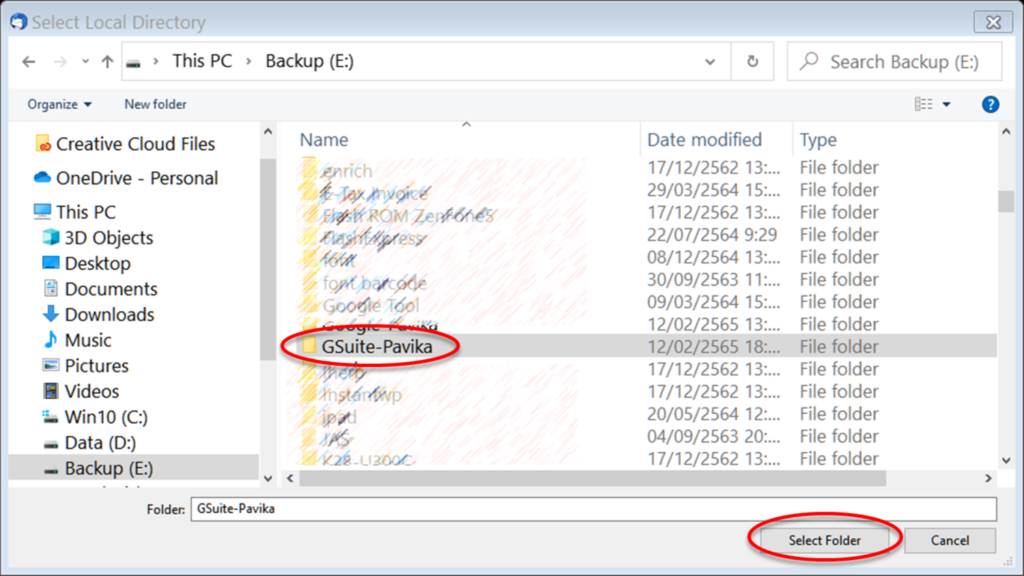
5. เลือกโฟลเดอร์ที่เก็บไฟล์ .mbox
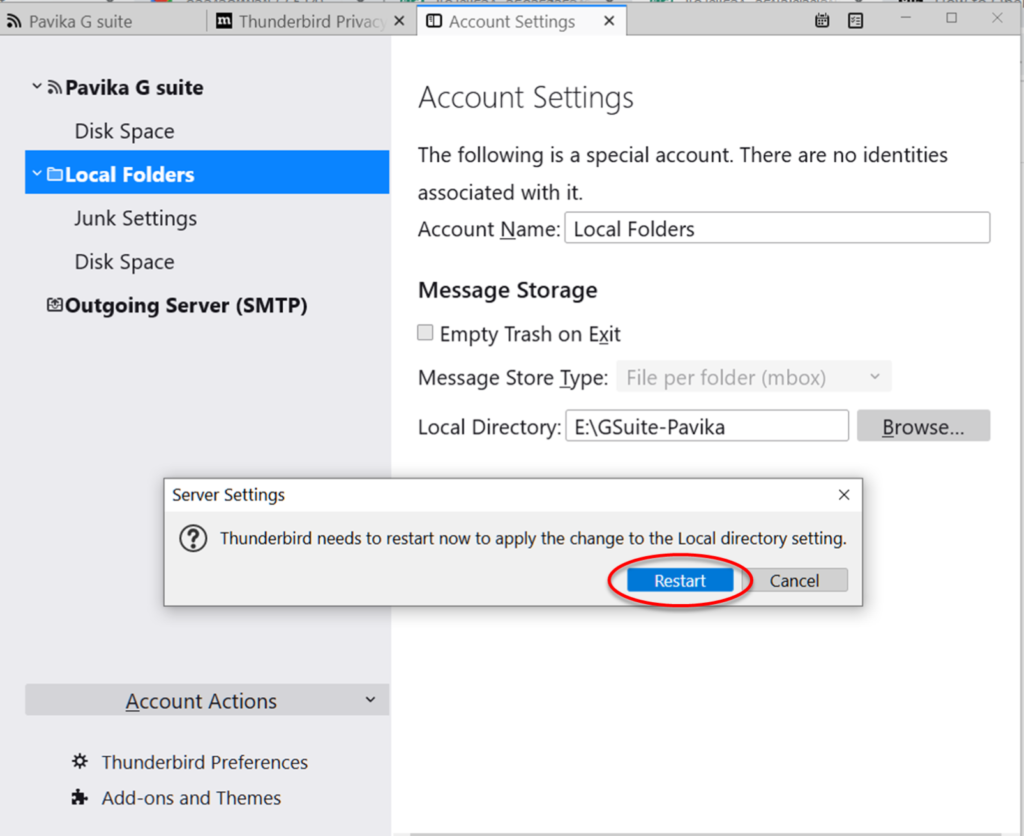
6. คลิก Restart
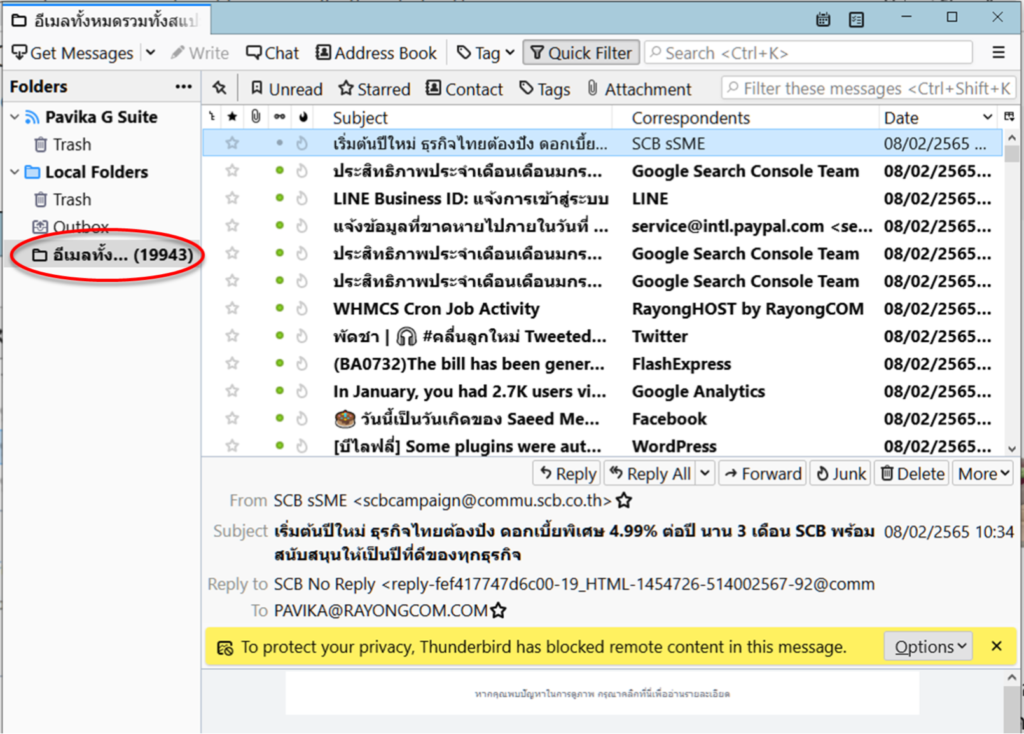
7. Local Folders>>อีเมลทั้งหมด..
นำเข้า Address Book vCard ไฟล์
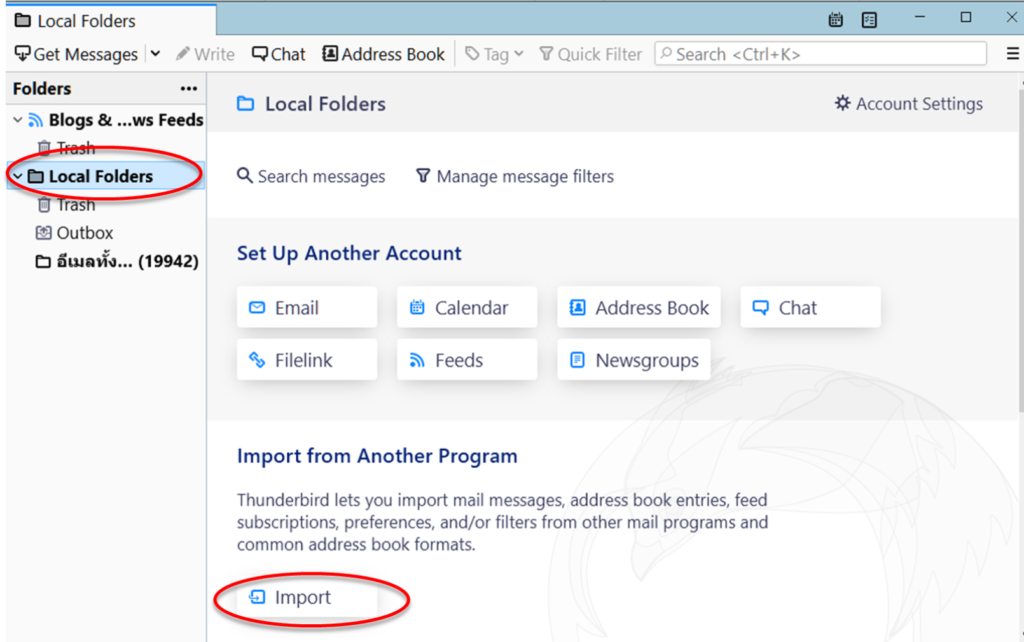
1. ที่ Local Address คลิก Import
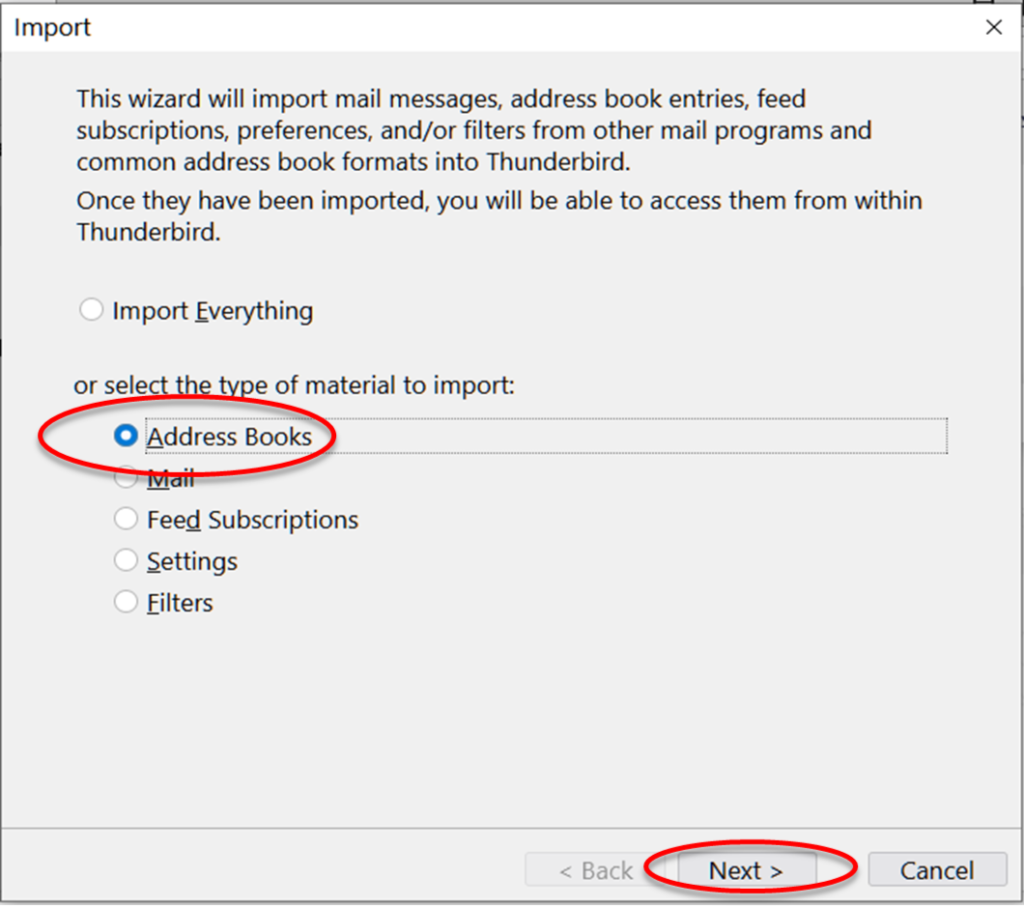
2. คลิก Address Book >>Next
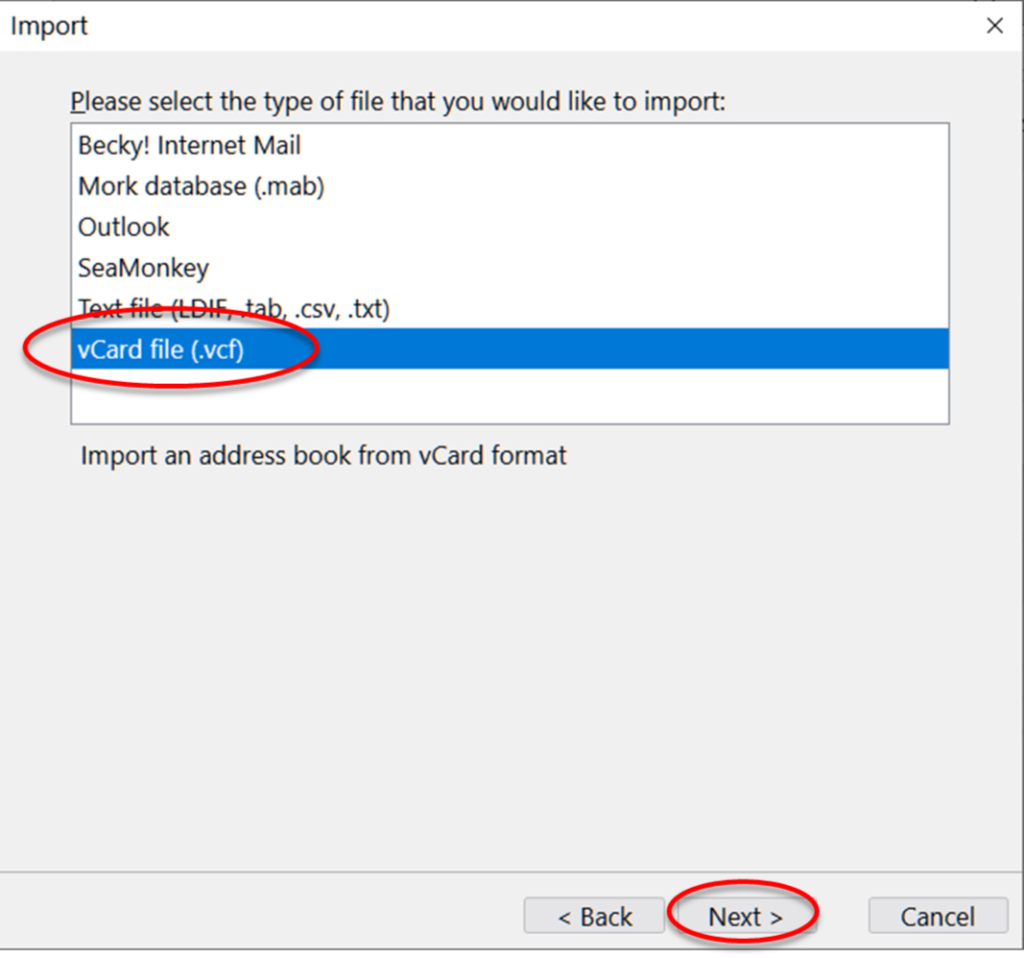
3. คลิก vCard file >> Next

4. คลิกเลือกไฟล์ vCard ที่ดาวโหลดมา แล้วคลิก Open
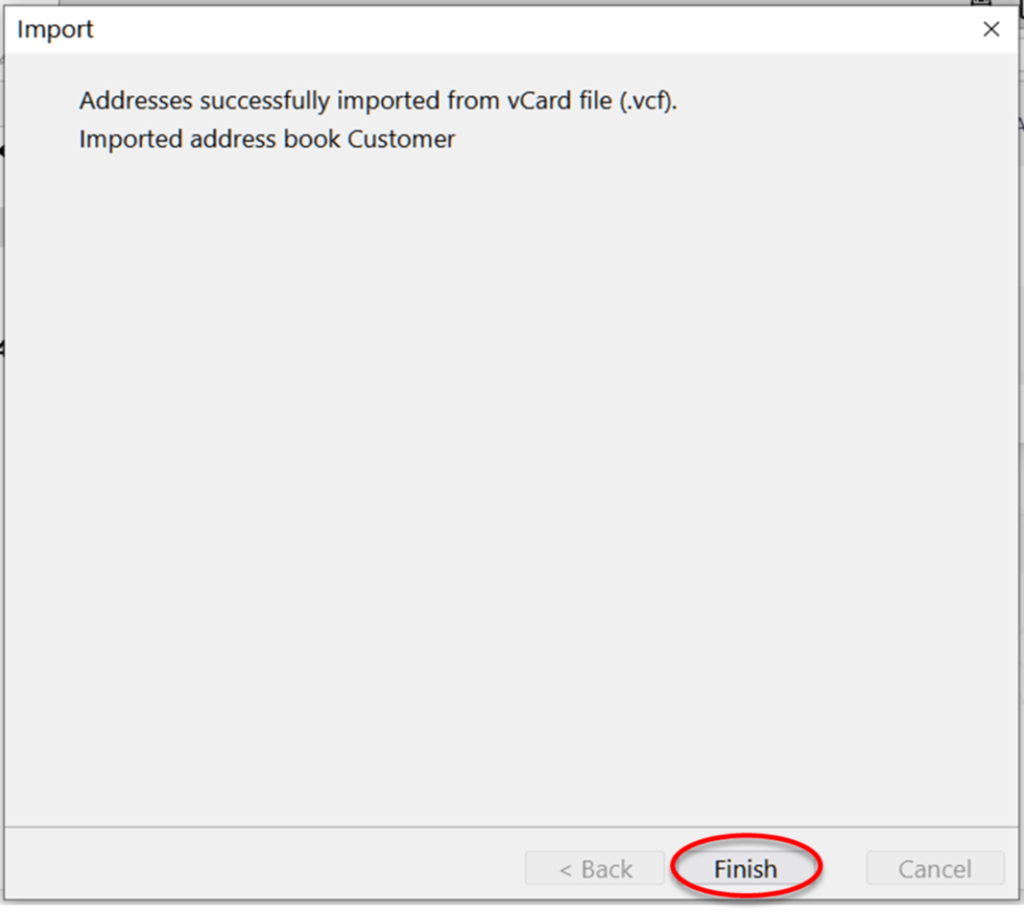
5. คลิก Finish

6. ตรวจสอบรายชื่อผู้ติดตอได้โดยคลิก Local Folders >> Address Book